QUARANTINE
Painting My Dresser
When I started thinking about my move from Austin to California, I rolled around a couple of ideas of how to do so in my head. My first thought was take the truck back, the way I went to Texas in the first place. I won’t bore you with the details but in the end I decided to fly and ship all my things. What I WISH I had done was paid the extra 600 bucks and hired movers.
My dresser wasn’t particularly nice (the drawers didn’t open very easily, the paint was wearing off), but I did have trouble finding another nightstand like it, so I decided hey, I may as well ship it. When it arrived however, I found the dresser was particle board that had been stapled together and in transit had shaken almost entirely in half.
My normal thought would be, okay this is garbage let’s toss it out. However, it’s quarantine and I’m not going anywhere anytime soon. I can’t go look at furniture to replace this with. With my brother’s help, I figured I could drill new holes and nail the dresser back together, which is what we did.
That would’ve been okay to just start using, but I saw an opportunity. The nail heads were visible and looked bad, and some of the already bad paint looked worse after transit. I decided to repaint the dresser while I had it there.
I went online and read about some tips and tricks for repainting furniture since I’ve never done this before. This article for one and this one for second. The consensus being you should sand the dresser, then put primer on, then sand, then paint, then sand, then put a sealant coat. My roommate already had white paint, so I just grabbed the primer, sealant, sandpaper and paintbrush from Home Depot.
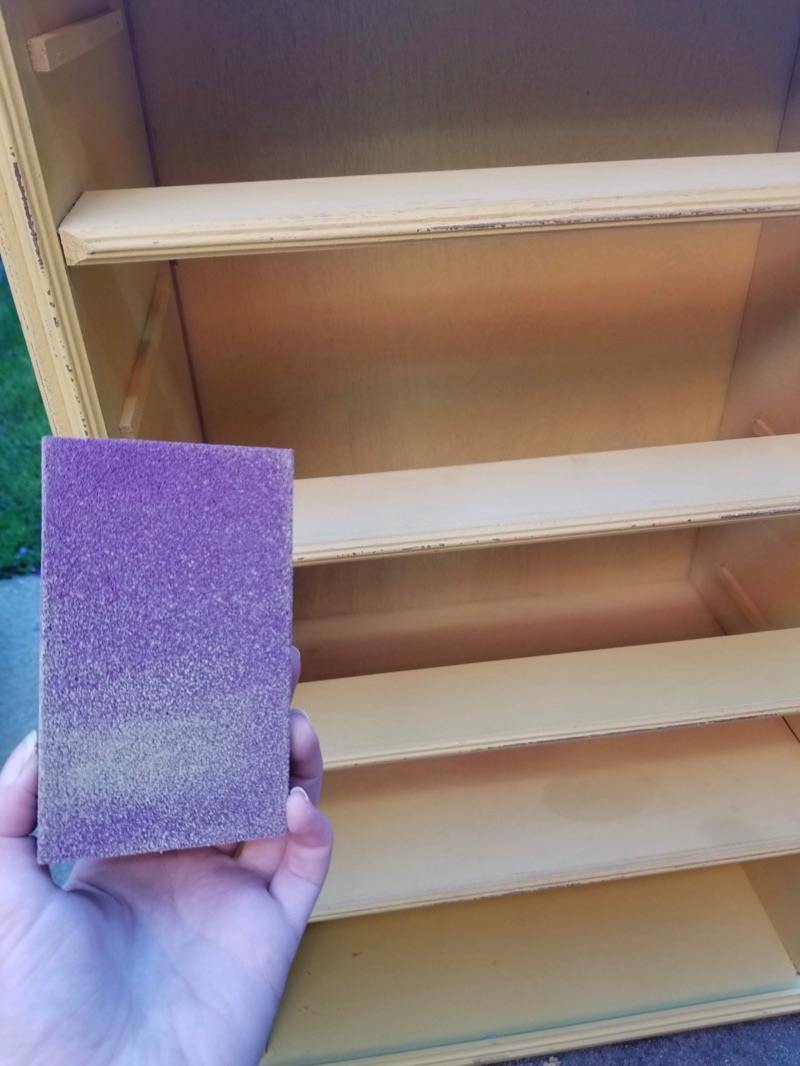
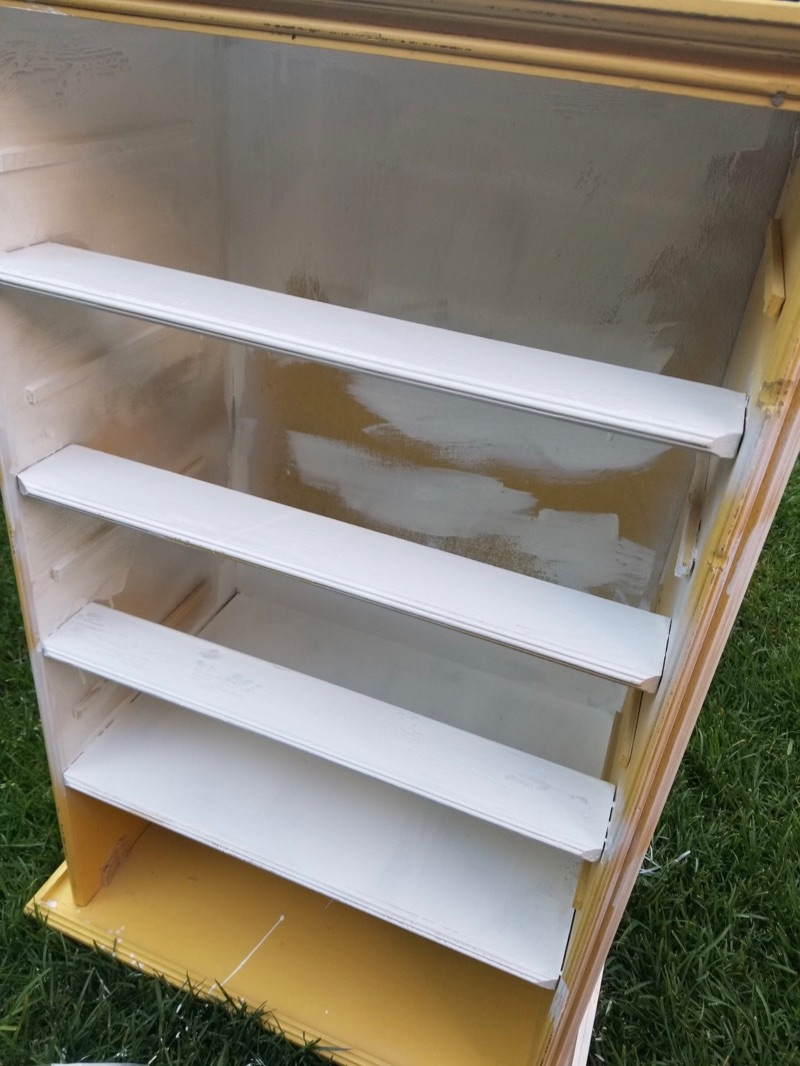
The first thing was - the primer I bought and the paint were oil based and water based respectively which meant they hated interacting with each other wet. Why were they interacting wet? I suck at this I guess. I got one spray can and it didn’t have enough paint for an even coating of the whole dresser, resulting in overlap and much frustration and chemical inhalation.
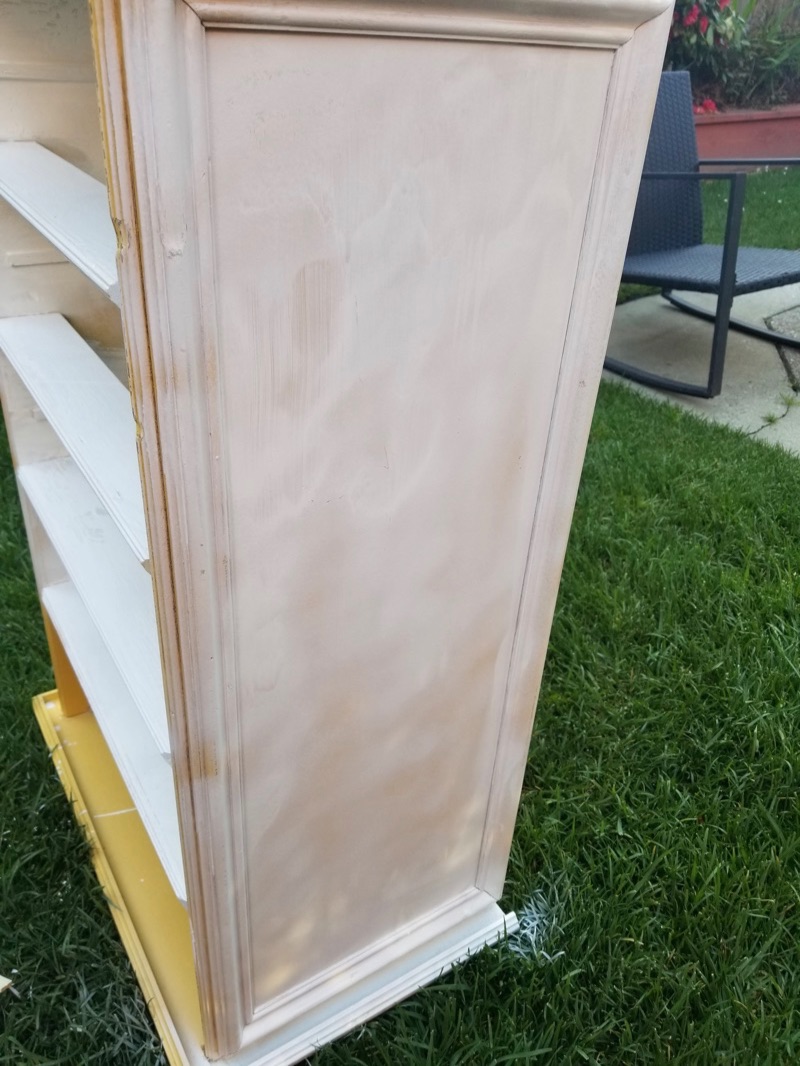
The other frustration about the process was I had nailed the dresser back together THEN decided to paint, so the interior was really hard to reach! I also hadn’t discovered the magic and beauty of using the paint roller yet, so I was getting tooooons of streakiness. I had to go back over nearly every surface with the roller to get a decent texture.
The other fun quirk of the dresser before this fiasco was that the drawer knobs would get loose and fall out. So me, thinking, nothing in my life will drastically change in the next few months, am going to SUPERGLUE these knobs into the doors. It makes perfect sense up until you need to paint the drawers and have no choice but to get paint on the knobs.
Because I had painted over so many surfaces more than once, I suddenly realized I was running out of paint. While I could buy more paint at the store, I decided to just finish the job up and left one drawer missing a panel being painted plus a whole lotta crappy textures everywhere. You can see in the photo below both where the paint dripped and left 3d texture, and where the top coat pooled and caused yellow/brown staining.
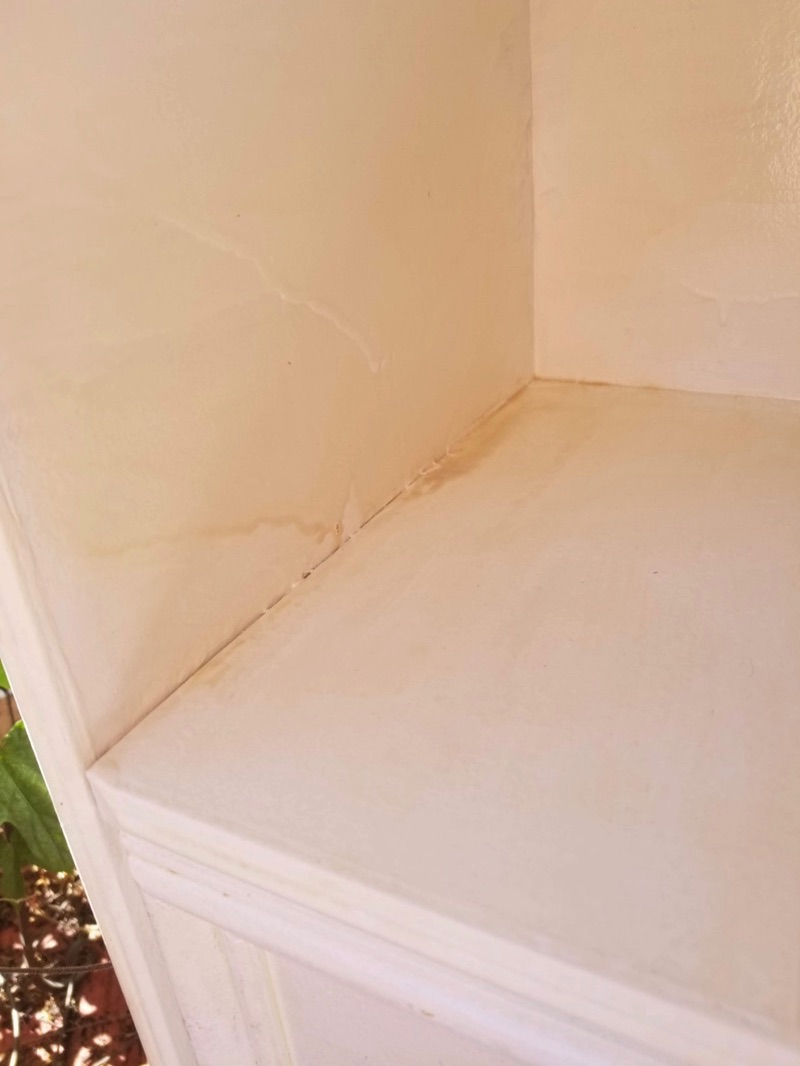
The top coat was the last step, and one I wish I had approached MUCH more carefully. It was sort of a brown oily substance. I painted the whole dresser while it was standing up, resulting in tons of dripping and bad texturing that not even the paint roller could fix. The grooves of the siding also captured a ton of goo I couldn’t get back out, making them especially yellow.
You can see in this picture where I got paint on the door knobs as well:
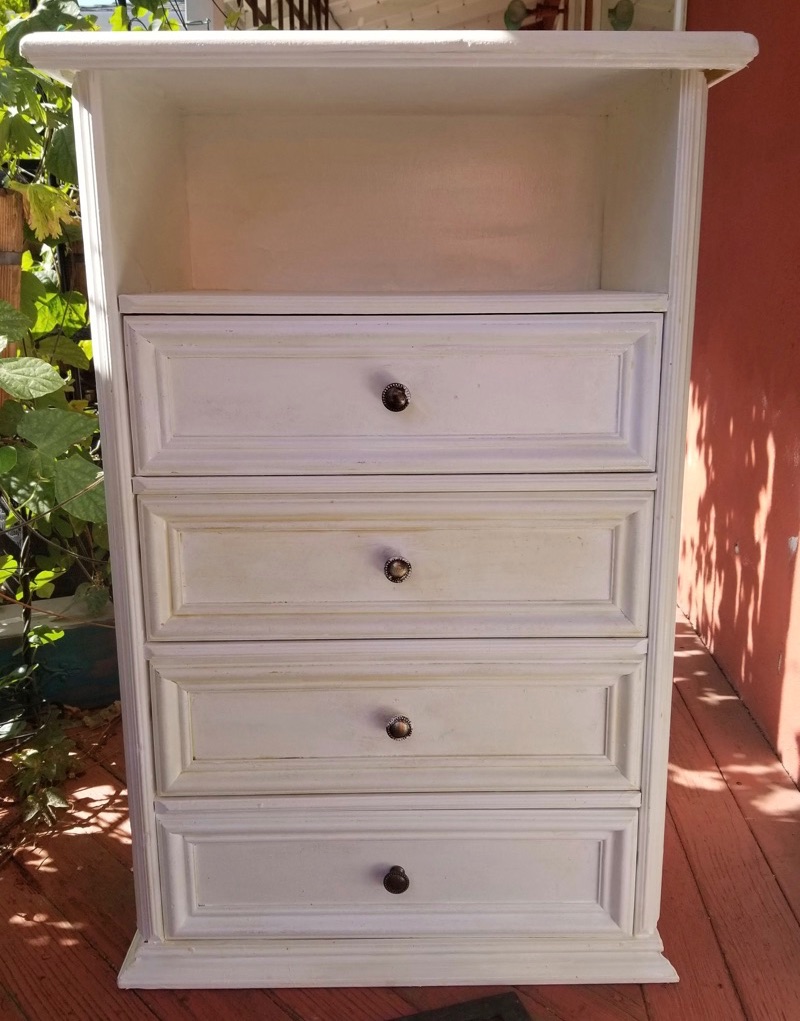
All told from far away it could look a LOT worse. The top coat also left a nice smooth shiny texture on top.
I think if I do this again, I will do each side of the piece of furniture one at a time to stop dripping issues. I would probably force out the hardware instead of shrugging. I would use the roller for painting way sooner. I would make sure to be more fastidious about sanding between layers. I would pick a different kind of sealant.