QUARANTINE
Building Planters
I got one of these growing kits from Home Depot and planted two varieties of tomatoes, brussel sprouts, lavender, rosemary and cilantro. I knew I would probably have to figure out bigger containers for the tomatoes and brussel sprouts.
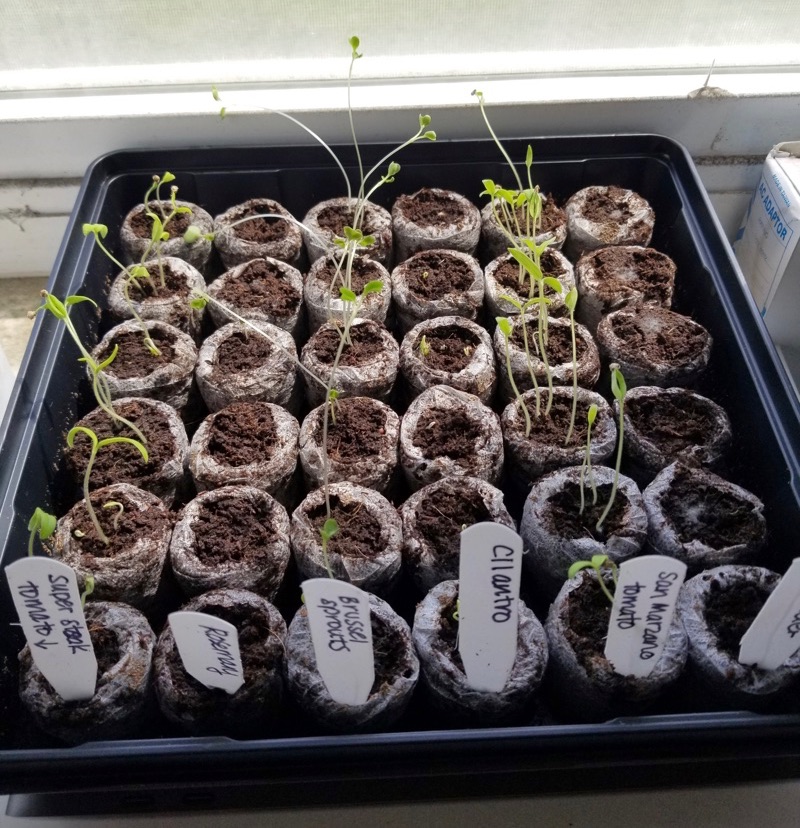
The little buggers grew insanely quickly! I knew I’d need planters for them. I looked online for buying pre-built planters and they were ranging quite a bit from 80-150 bucks a planter! Since it was quarantine and I’ve got nothing better going on, I decided on DIY.
There are a lot of DIY instructional videos for making planters, but surpisingly few free plans. I knew I had 6 of each of the “big” plants. Tomatoes need 12-18 inches in between each plant and 12 inches of soil depth. I sketched out how that would look and I knew I didn’t want a 6 foot long planter. I opted for 2 feet by 4 feet with plans to stagger the tomatoes.
So each planter required:
- Four 2x2x12 (I don’t know what you call these, the support beams or something?)
- Four 2x6x24 (two boards for each short end)
- Four 2x6x48 (two boards for each long end)
- Four 2x2x3 (feet)
- One 2x24x48 plywood (for the base)
These dimensions will actually cause a 2 inch gap wide-ways. You can prevent this by getting 10 inch short boards. But I actually kept the gap, because you want decent drainage at the bottom of the planter and you’ll be drilling drainage holes anyways.
Oh, important to note also I have no access to wood cutting powertools aside from what Home Depot could do for me. I hope that explains why these boxes are so rudimentary. I basically had a drill, hammer, nails and my hopes and dreams.
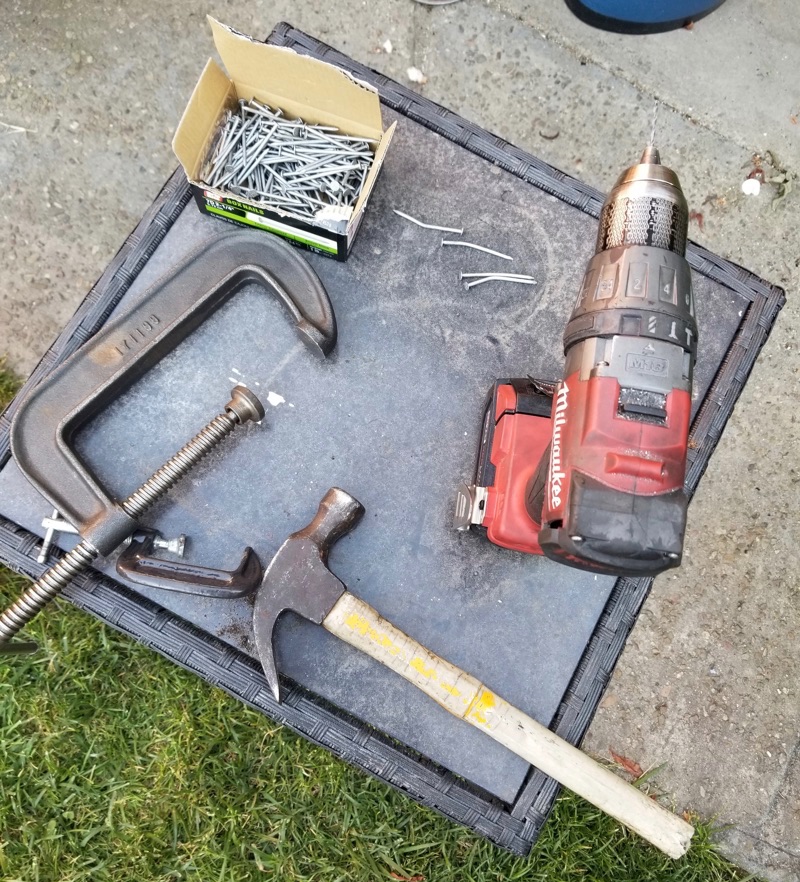
Pick a drill bit that is slightly smaller than the nails you’re using. I got nails that are specifically for outdoors construction. My nails were also a hair too long. They pierced the 2 inch wide boards AND the 2 inch wide support beams and then poked out a little on the outside.
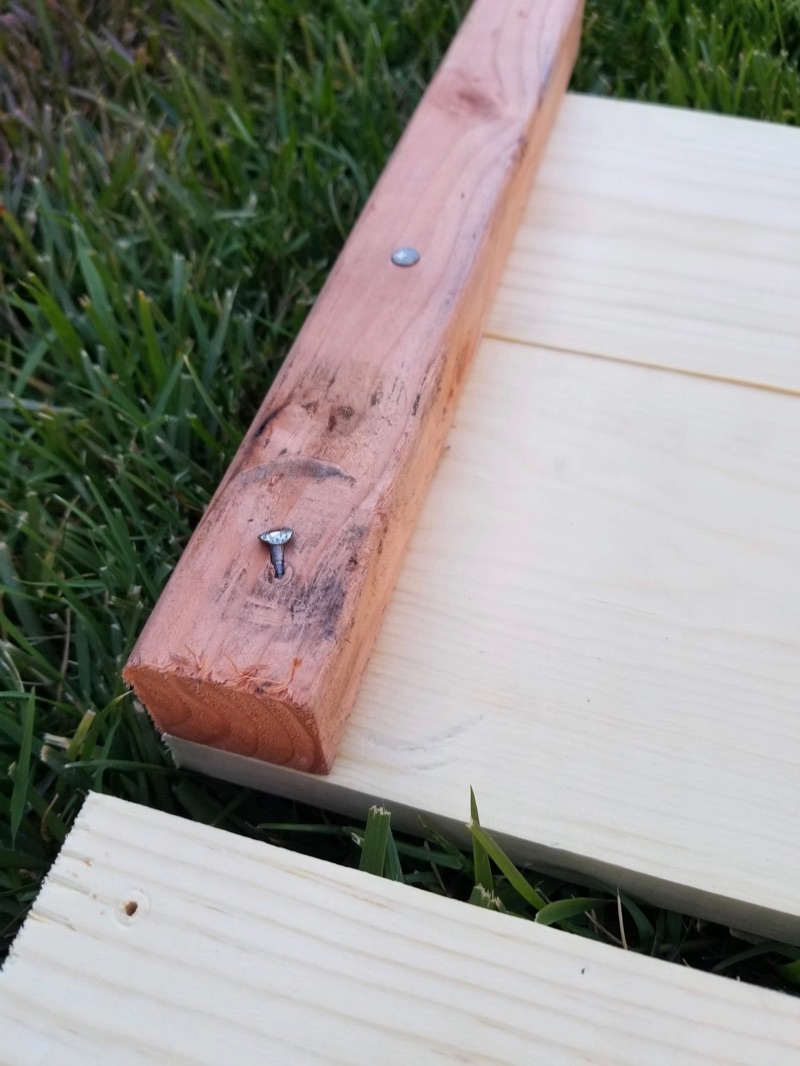
You can tell how good at hammering nails in I am but all the bent ass nails.
Also the guys at Home Depot meant well but my boards were all kinds of different lengths. Thankfully planters don’t have to be very precise. Once the short ends were nailed together, I had an interesting time trying to connect the long boards. Without a proper wood working set up I’m shocked any of these came out straight. But once two short ends were connected by a long side, it was pretty trivial getting the last side in place.
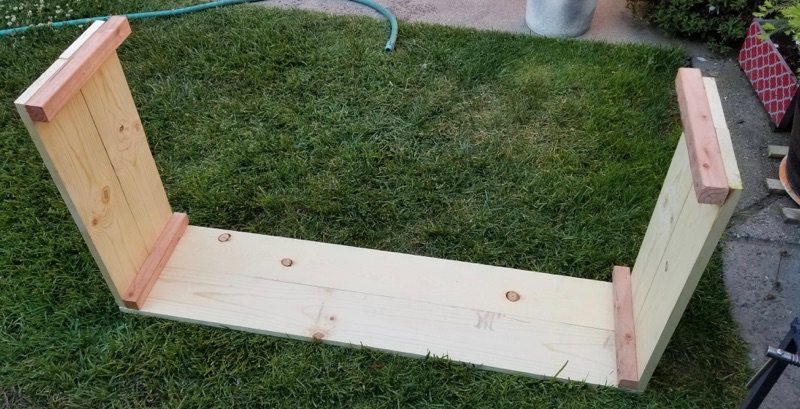
Since my nails were slightly too long, I made sure to hammer all of the nails inwards (except for one side, oops) because that way the nail ends would be covered by dirt and not liable to give me or something helping move these tetanus.
The last step was to nail the base to the structure. This was fun because, as I said earlier, I miscalculated by about two inches and there was a gap. I also had to drill 6 new holes in the bottom for drainage. In any case, it was no big deal nailing four sides in.
Here’s the finished box sans the holes!
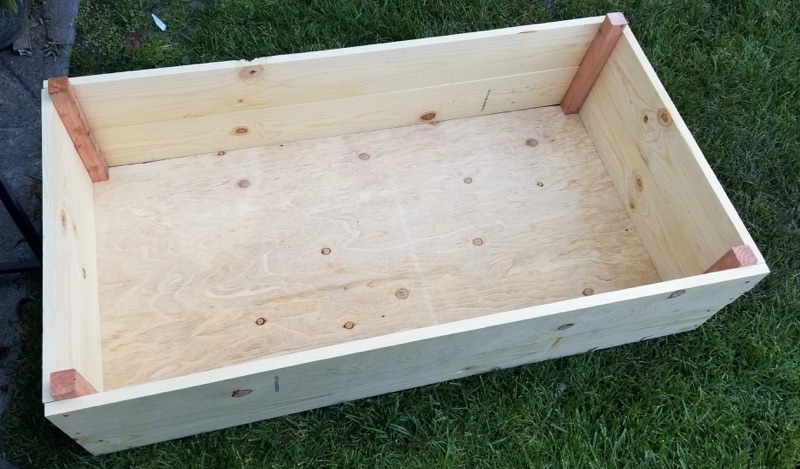
The first box I forgot to put feet on, which was a huge mistake. These buggers are HUGE and once the dirt is in, they’re incredibly heavy.
So I didn’t get any pictures but the next step is to treat the wood. Or I should say, a step is to treat the wood. The first box I assembled first then treated, the following two I treated the wood as individual planks then assembled. Basically I wanted to make sure my measurements would work first before putting too much work in.
There are a number of options for treating the wood. You treat the wood to prevent it from rotting when you pour a bunch of water over it daily for months on end. I honestly had a hard time finding a end-all be-all solution, these two articles here and here sorta led me to using boiled linseed oil. I ordered that online and mixed it 2-1 with mineral spirits and painted that mixture on the boards. Just be aware that linseed oil is high flammable.
The bottle I bought said it takes 18-24 hours to dry which slowed down production quite a bit. But there are some sealants that they say can take weeks to dry!
Because of the gaps in the wood and the drainage holes (all of which you want!) I needed to staple in some landscaping fabric to keep the dirt in. I got mine from Home Depot and it seems to work fine. I had to do two passes in each box because the fabric was slightly too narrow but no biggie. I used a staple gun to staple the fabric in to cover all the wood gaps.
So for the two boxes with feet, I had extra 2x2 from the support beams. Home Depot won’t cut wood any shorter than 12 inches and hand sawing 2x2x3s seemed not only like a huge pain in the ass but also like I’d get really wobbly planters. I ended up using my brother’s top saw with its metal cutting blade. I don’t necessary recommend this but hey, it worked!
I drilled holes where I wanted the feet to go in the bottom so I could see where to nail from the inside, then super glued the feet on top of those holes. This allowed me to let the glue dry, then gingerly flip the boxes over, then hammer in nails to make sure the feet were really securely fastened.
I did try nailing the feet into the sides of the bottom plywood board but that didn’t work at ALL. I also figured out to drill the leading holes for the nails from the top so you are sure you aren’t placing the feet under one of the support beams or somewhere you won’t be able to hammer a nail down into.
Finally, I filled them with dirt. I tried to eyeball how much dirt I’d need but there’s no reason to do that. There are calculators out there for you. This is how I learned each planter would need 8 cubic feet of soil.
I got some cheap organic soil in 3 cubic feet bags, some decent vegetable growing potting soil, and a bag of fertilizer. The plants need a few days outside in the shade before they can be transplanted, then you can put them in and cover with mulch.
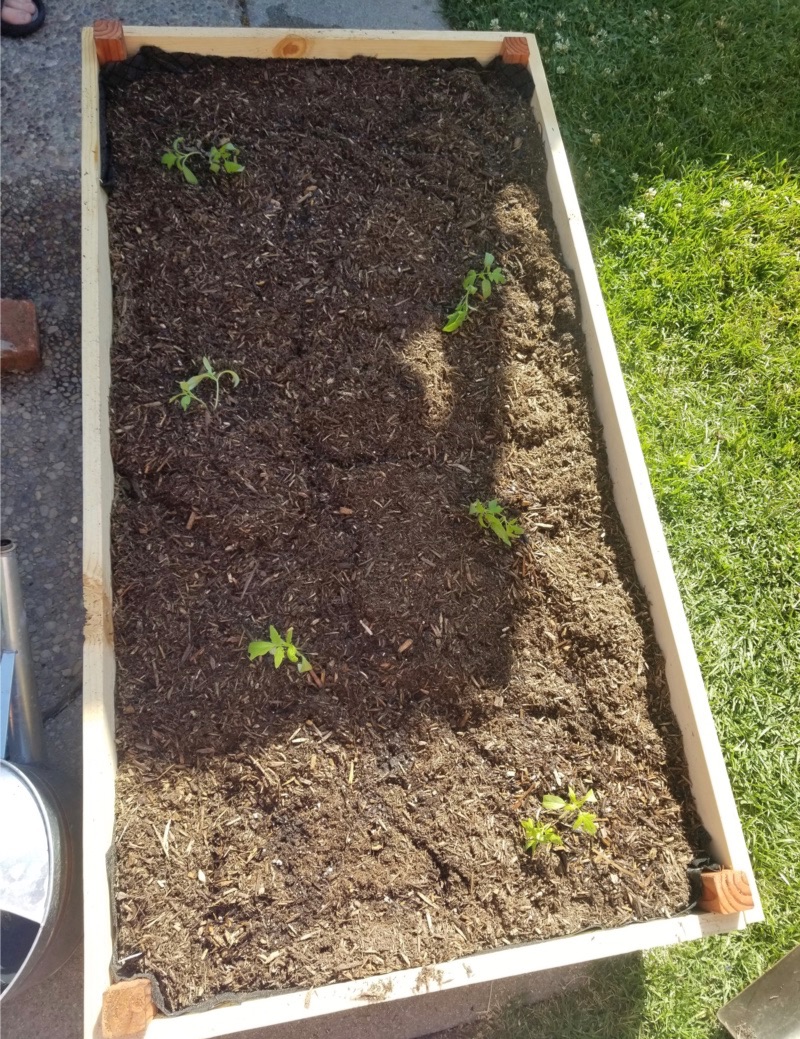
My tomatoes look really happy! My brussel sprouts not as much haha. Maybe one of my next quarantine projects will be automatic watering!